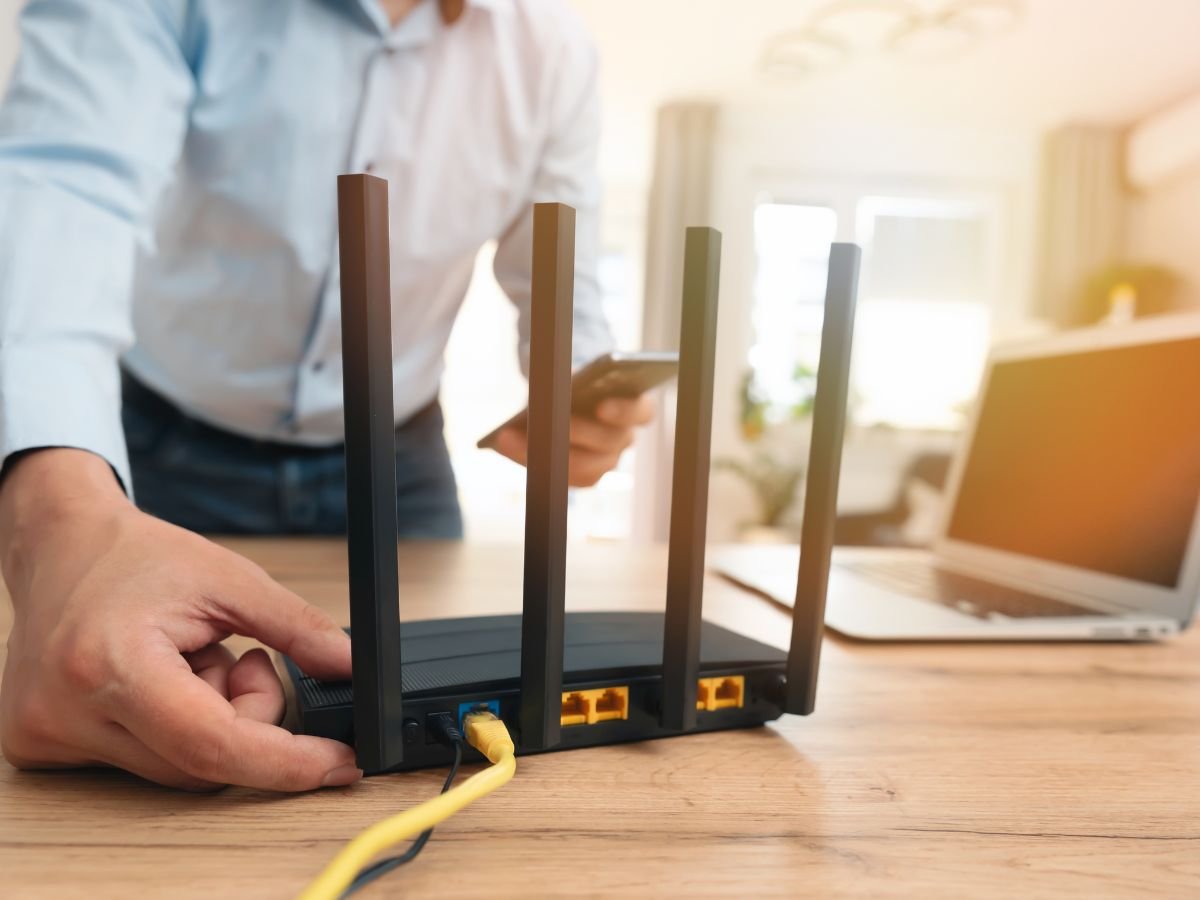
Many people install VPNs directly on their devices, such as smartphones, tablets, laptops, and desktops. However, setting up a VPN on your router offers several benefits. By doing so, you can automatically protect every device in your home, eliminating the need to connect each device to the VPN individually. This ensures that devices like consoles and smart TVs are also protected.
The process of setting up a VPN on a router varies slightly depending on the VPN and router model. Our guide explains the general steps involved. (*For specific setup details, we recommend contacting your VPN provider.)
In some cases, you may need to flash your existing router with new firmware like DD-WRT. This is a technical process that should only be attempted by users who are confident in their abilities.
Why should I configure a VPN on my router?
Setting up a VPN connection on your router provides automatic protection for every device connected to your home’s WiFi network. This means all devices accessing the internet benefit from encryption and hide your actual IP address from websites.
This significantly enhances the privacy of everyone in your household without requiring them to take individual actions. There’s no need for constant manual VPN connections on each device, saving time and ensuring continuous online protection even if VPN connections are forgotten.
Moreover, a router-based VPN extends VPN security to devices that cannot directly install VPN software. Devices such as smart TVs, internet-connected media boxes, game consoles, and smart home gadgets may lack VPN installation capabilities due to limitations like absence from app stores or insufficient memory and processing power.

Setting Up a VPN on Your Router
If you have a VPN-compatible router, setting up a VPN connection is relatively straightforward. Some routers natively support common protocols like OpenVPN, making it easy to connect if your VPN provider offers the necessary configuration files.
Keep in mind that the exact setup process may vary depending on your router model and the VPN service you use. The guide below provides a general outline to help you get started. For specific details, contact your VPN provider.
Step-by-Step Guide to Setting Up a VPN on Your Router
1.Access Your Router’s Admin Panel: Log in to your router’s admin panel using a web browser and the router’s IP address.
2. Navigate to the VPN Settings: Once logged in, locate and click on the ‘VPN client’ tab in your router’s settings.
3. Add a New VPN Server: Within the VPN settings, select “Add” to create a new VPN server entry.
4. Configure VPN Server Details:
- Description/Name: Provide a name for your VPN connection.
- VPN Type: Choose the VPN protocol (e.g., OpenVPN, WireGuard) supported by your VPN service.
- Username: Enter your VPN username.
- Password: Input your VPN password.
- Encryption Settings: Adjust encryption settings based on your VPN provider’s recommendations.
5. Set DNS and Disable IPv6:
- DNS: Use your VPN provider’s DNS nameserver address to prevent DNS leaks.
- IPv6: Disable IPv6 to prevent IPv6 leaks.
6. Download the VPN Configuration File:
- Visit your VPN provider’s website and download the OpenVPN (.ovpn) configuration file corresponding to the server location you wish to use. For WireGuard, download the appropriate WireGuard configuration file.
7. Import the Configuration File:
- Return to your router’s VPN client settings.
- Click ‘Browse’ next to the ‘Configuration file’ field and select the .ovpn or WireGuard configuration file you downloaded.
8. Enter Additional Commands:
- Some VPN services may require specific commands or settings adjustments for optimal performance. Consult your VPN provider for any necessary commands and input them into the designated field in your router’s admin panel.
9. Activate the VPN Connection:
- After ensuring all settings are correctly entered, save your VPN connection settings.
- You can now enable the VPN connection on your router.
10. Configure Device Access:
- Depending on your router model, specify which devices can use the VPN connection.
- Access the ‘Device list’ to select network devices that you want to route through the VPN.
That’s It After completing these steps, you can close your router’s admin panel and begin using the VPN. To confirm the VPN is working, use a free IP-checking tool on any device connected to your network. If you don’t detect your home IP address in any of the tests (IP, DNS, and WebRTC), then your router VPN setup was successful.

Step-by-step Setting Up VPN on a DD-WRT Router
- Access your DD-WRT router’s interface and go to Setup > Basic Setup.
- Under Network Address Server Settings (DHCP), enter the DNS server addresses provided by your VPN. You can find these on your VPN provider’s website. (Alternatively, you can use a third-party DNS resolver, but using the custom DNS servers provided by your VPN is generally recommended).
- Ensure that the options for using DNSMasq for DHCP and DNS are enabled. Depending on your VPN and DD-WRT version, you may also need to enable DHCP-Authoritative.
- Save and apply these settings.
- Click on the Setup tab located at the top right corner of the DD-WRT interface. Set IPv6 to Disable, then save and apply the settings.
- Navigate to Service > VPN.
How to Install DD-WRT Firmware on Your Router
If your router doesn’t support VPN functionality, you might need to replace its firmware with a compatible alternative. Open-source firmware options like DD-WRT and Tomato are popular because they offer advanced features, including manual VPN setup, and they are free to use!
Flashing your router with different firmware can be a bit complex and is only feasible on certain router models. Ensure your router is compatible with the firmware you plan to use. To check compatibility, refer to the official DD-WRT router compatibility database. Search for your router model number or name to verify compatibility.
Remember, installing alternative firmware may void your router’s warranty and potentially render it unusable (also known as bricking).
If you’re ready to proceed and confident in your router’s compatibility, follow these steps:
- Download DD-WRT Firmware: Visit the DD-WRT website’s firmware download section and download the appropriate firmware for your router.
- Access Your Router’s Admin Panel: Open a web browser and enter your router’s IP address (usually 192.168.1.1 or 192.168.0.1) in the URL bar. Log in using your router’s default username and password (if you haven’t changed them).
- Backup Your Current Firmware: Before flashing DD-WRT, consider backing up your current firmware settings using your router’s Backup option.
- Flash DD-WRT Firmware: In your router’s admin panel, navigate to the firmware tab and select the option to update firmware. Choose the DD-WRT firmware file you downloaded earlier and follow any on-screen instructions provided by your router’s firmware update tool.
- Wait for Installation: The installation process may take a few minutes. Your router may reboot automatically upon completion; if not, manually restart it.
- Access DD-WRT Settings: After installation, access the DD-WRT admin panel using the same web browser method as in step two. You may need to set a new username and password.
- Set Up VPN in DD-WRT: Configure your VPN settings within the DD-WRT admin panel. Below is a general outline, but refer to your VPN provider for specific setup instructions:
- Enter VPN configuration details such as server address, VPN type (e.g., OpenVPN), username, and password.


